A useful custom rhinestone template is a measured arrangement of holes for a specific stone size. Start with your finished width, a readable design and a test cut; a shirt mockup alone cannot confirm that the holes will fit.
Start with a production brief
A request for a custom rhinestone template becomes much easier to review when it describes the object you want to make. “A sparkly logo” leaves open the size, stones, file format and material. “A single-color name, 200 mm wide, using my measured SS10 stones, supplied as an SVG for my cutting software” gives the project a useful starting point.
This studio is for making the digital layout. It does not sell a finished shirt, a physical flock stencil or a packet of stones. If you want someone to make and ship a garment, arrange that separately before committing to a delivery date for an event.
| Include in your brief | Useful detail |
|---|---|
| Artwork | Exact spelling, capitalization, or a simple logo you have permission to use |
| Finished width | A measurement in mm or inches taken from the actual garment |
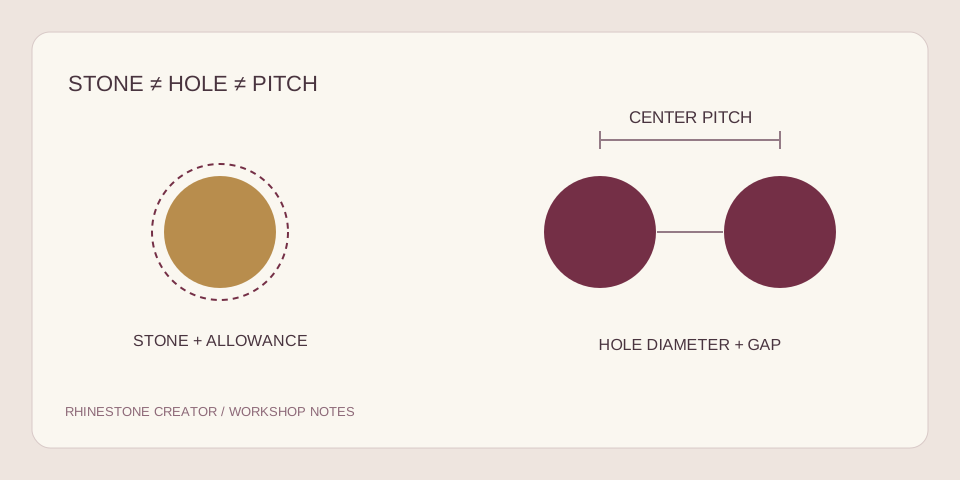
| Stones and holes | Stone label, measured batch size, candidate hole size and gap |
| Workflow | Your cutting software and edition, or a printed placement workflow |
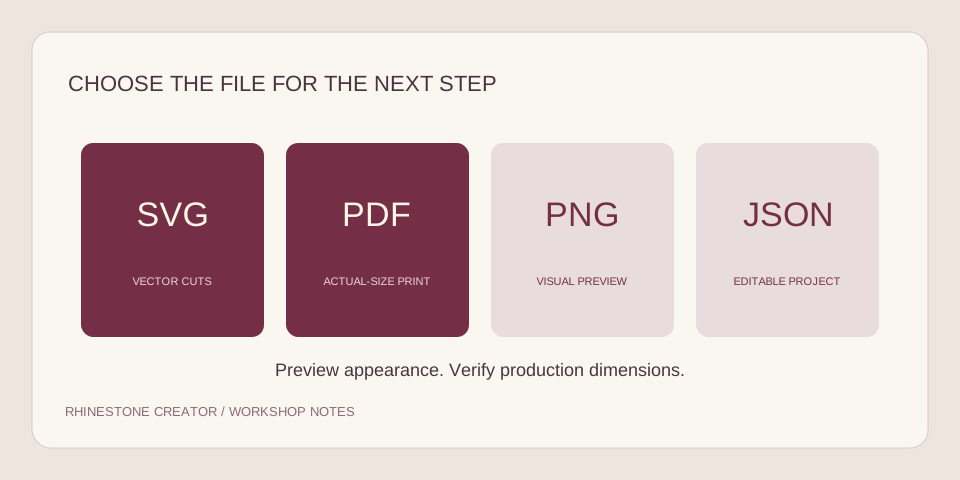
| File preference | SVG or actual-size PDF, agreed during review |
Choose artwork that survives the stones
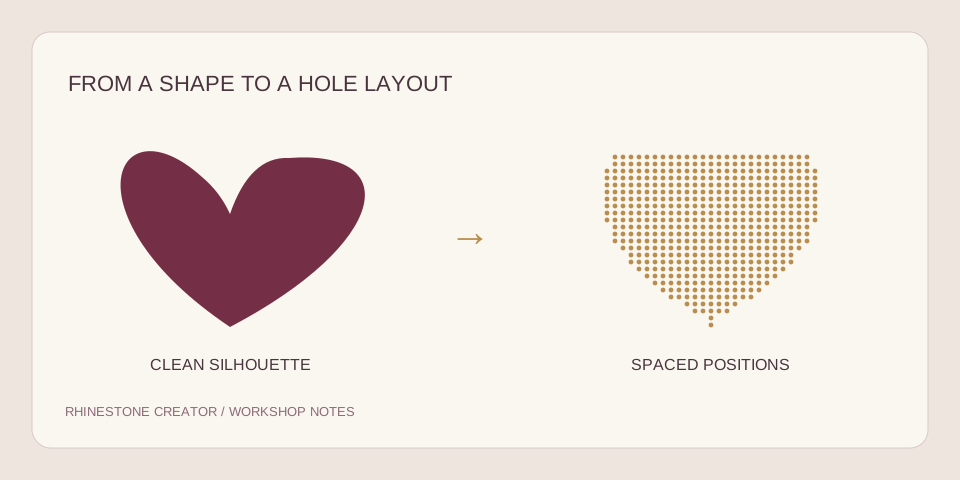
For a first project, use a short name, a large initial or a simple silhouette. A bold letter has room for several rows of stones. A delicate script may have strokes narrower than a single hole, so some connections disappear when the artwork becomes dots.
Start with a single color and one stone size. Those are the current limits of this creator. Selecting gold, crystal or rose changes the screen appearance; it does not separate your file into multiple stone-color layers. A design that needs several colors, mixed sizes or detailed portrait shading needs another workflow.
A logo may also need a simplified version. Preserve the identifying outline and the readable wording first. Very small registration marks, thin borders and tiny text often add complexity without adding visible detail at the finished size. The image preparation guide explains how to compare the original shape with its dot layout.
A worked name-shirt example
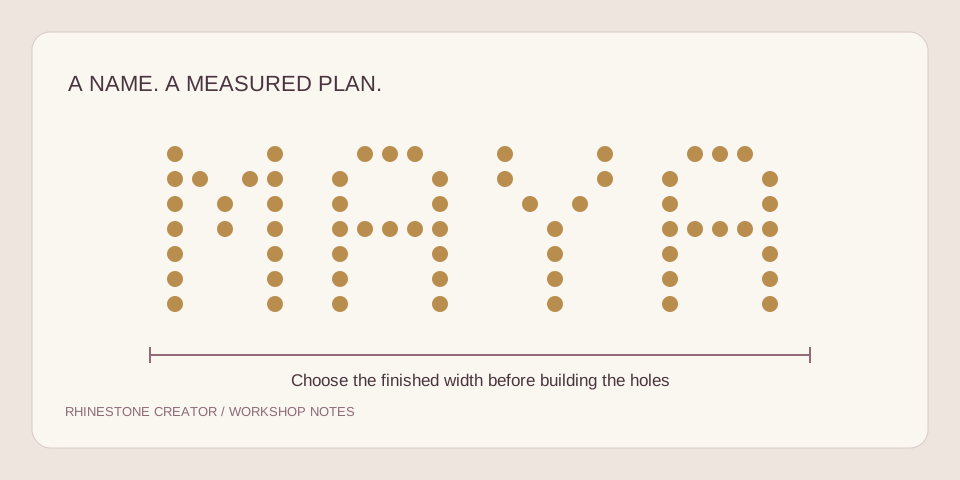
Suppose you want the name MAYA across a shirt. Measure the available chest area on that shirt, then try a 200 mm width in the creator. That is about 7.87 inches. This is a planning example, not a recommended universal width for adult or children's clothing.
- Type MAYA and start with the bold lettering style.
- Set the width to 200 mm. Choose a candidate hole diameter and gap based on your stones.
- Create the template and inspect the open space inside the A. Try a different font if the opening closes up.
- Compare a honeycomb fill with an outlined edge. The fill gives more coverage; the outline can change the appearance and reduce the count.
- Switch to the shirt mockup to discuss placement. Move and scale the screen design until its appearance is useful for planning.
- Download the calibration SVG and check it with your actual setup before treating the design as production-ready.
The mockup size slider does not resize your cut layout. Use the Finished width control and rebuild the pattern when the physical design needs to change. Otherwise, a nice-looking mockup can hide a mismatch between what you approved on screen and what the file measures.
Save the JSON project before rebuilding. It keeps the individual stone positions, including manual edits. It does not preserve the original uploaded image or mockup placement. You can also download a free mockup PNG to discuss the overall appearance.
What your file request includes
When the layout is useful, choose Request my files. The form sends your stone positions, project name, email and notes. Sharing the original image is a separate option. The screen preview alone does not tell the reviewer which software edition you use, so include that in your notes.
The proposed price is $4.99 per design. This pilot accepts requests for manual review; it does not charge a card or create a paid order when you submit the form. File suitability, preferred format, payment arrangement and delivery details are confirmed afterward. There is no promised instant download or fixed turnaround in this pilot.
Keep the private link shown after submission. It displays the project status and any message from the workshop. A released SVG or PDF becomes available there after the administrator uploads it. Treat the link as private: someone who has it can access that project.
Budget the complete project
The digital file is only one part of a shirt project. Your budget may also include the garment, stones, stencil material, transfer materials, test cuts, application equipment and your time. The studio's stone count is a count of the positions in the layout; it is not a quote for those supplies.
For example, a layout with 900 stones needs at least 900 usable stones of the selected type. If you choose to buy 10% extra for handling losses, the planning quantity is 990. That is an arithmetic example, not a measured waste rate or a guarantee that 10% will be enough for your process.
For repeated names, compare your editing and setup time with the file cost. Do not promise a customer a bulk price or delivery date until you have made and checked a representative piece. One successful screen preview does not establish how long a full run will take.
Before you send the request
- Proofread the name and check that the design is yours to use.
- Confirm the finished width on the actual garment.
- Record the hole diameter and gap, not just an SS label.
- Confirm that your software edition can open the requested format.
- Tell the reviewer about any missing details or awkward stone positions.
- Keep a saved project and allow time for a real calibration cut.
If those details are ready, you have a clear basis for a file request. If they are not, use the free preview to resolve them first. The stone and hole sizing guide and SVG versus PDF guide cover the two choices most likely to affect the file you need.
About this guide
Written for the current single-color Rhinestone Creator pilot. File generation and screen workflows have been checked locally; a physical cutter, stone batch or fabric combination has not been certified. Software features can change, so check the linked manufacturer instructions before production.