SS labels describe stone sizes; they do not specify a universal cutting-hole diameter. Measure the stones from your actual batch, choose a candidate hole size and compare a few holes on your real stencil material.
Common SS sizes in millimeters
SS labels are size categories, not exact millimeter measurements for every stone. The reference ranges below come from the 2020 Swarovski application manual, hosted by Dreamtime Creations. They describe stone diameters and are not cutting-hole recommendations. Check the specifications of the actual stones you buy. View the manufacturer's size reference.
| SS label | Reference stone diameter | Creator preset hole |
|---|---|---|
| SS6 | 1.90–2.10 mm | 2.2 mm |
| SS10 | 2.70–2.90 mm | 3.0 mm |
| SS16 | 3.80–4.00 mm | 4.1 mm |
| SS20 | 4.60–4.80 mm | 5.0 mm |
| SS30 | 6.32–6.50 mm | 6.5 mm |
The preset column shows this tool's starting values. It does not certify that a preset fits every stone, material or cutting setup. A preset may be too tight or too loose for your batch. Use the custom hole diameter control when the calibration result calls for a different value.
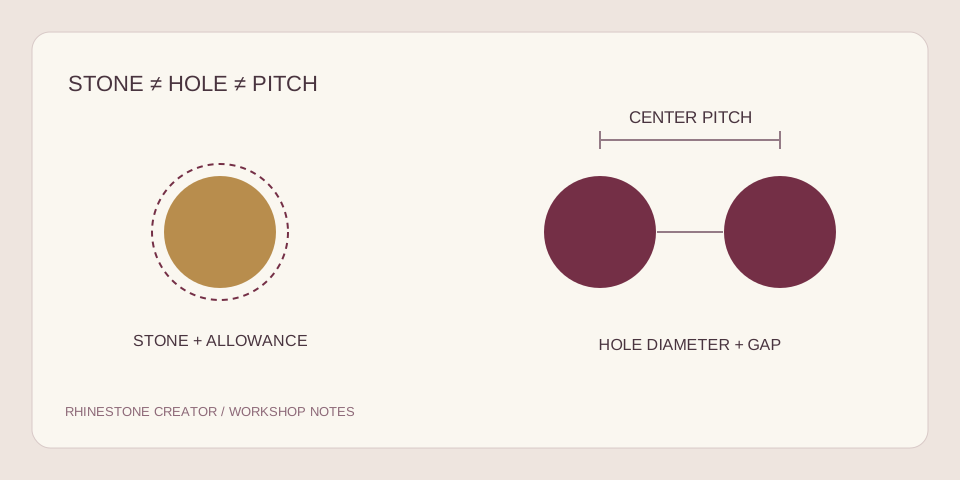
Separate the three measurements
Stone diameter is the actual width of the stone you plan to place. Measure several stones, including any variation that matters to your process. Do not measure only one convenient sample and assume the whole packet is identical.
Hole diameter is the intended circle cut into the template. It is a design input in this tool. The resulting physical hole also depends on the cut and material, so a nominal 3 mm circle in an SVG is not a measured physical result.
Gap is the minimum distance between the edges of adjacent holes. The center-to-center pitch is the hole diameter plus the gap. It is the gap between the holes, rather than the centers, that describes the strip of template material separating neighboring openings.
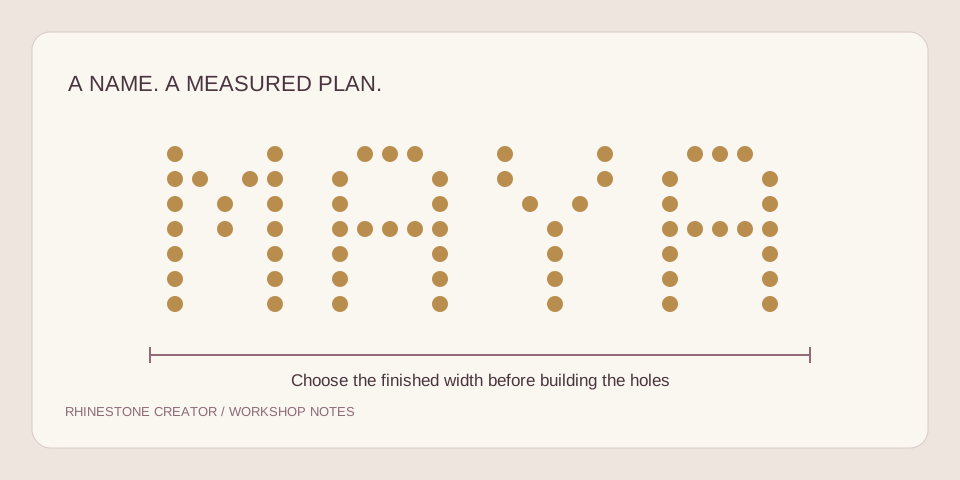
These distinctions matter when two people exchange a file. “Use SS10” does not specify a hole or a gap. “3.0 mm holes, 0.5 mm minimum gap, 200 mm finished width” is a much more reproducible description, provided the recipient also knows that it still needs a test cut.
A practical spacing calculation
With 3.0 mm holes and a 0.5 mm gap, the pitch is 3.5 mm. In a straight row spanning a 200 mm-wide rectangular area, the maximum number of complete holes is:
floor((200 − 3.0) ÷ 3.5) + 1 = 57 holes
The 57 holes span 199 mm from the first outside edge to the last. That comes from 56 center intervals of 3.5 mm plus one 3 mm diameter. It leaves 1 mm of unused width if the row is fitted within 200 mm.
This is a geometric capacity example, not the stone count of a name or logo. Letter shapes, internal openings, outlines and offset rows change which possible positions are actually occupied. Use the generated layout's count when planning that specific design.
The example also shows why reducing the width can change the design. If you keep the same stones and holes but regenerate at a smaller width, fewer positions fit. That is different from shrinking an existing finished SVG, which makes all the holes smaller as well.
Choose a size for your lettering
Smaller stones can represent smaller features at a fixed overall width, but more positions may be needed to cover the same area. Larger stones can change the visual weight of a design and may make fine lettering impossible at the width you want.
Try the same short name at the same finished width with two candidate sizes. Compare the counters inside letters, connections between strokes, spaces between letters and total stone count. Do not compare two versions at different on-screen zoom levels and mistake the larger display for a larger finished design.
If your chosen stones are already purchased, treat them as a constraint. Change the artwork or width to suit them rather than choosing a template preset for its screen appearance. The custom name and logo guide gives a brief you can use when asking for help with that tradeoff.
Test several hole allowances
- Measure stones from the actual batch and select a candidate hole diameter.
- Download the free calibration SVG from the creator.
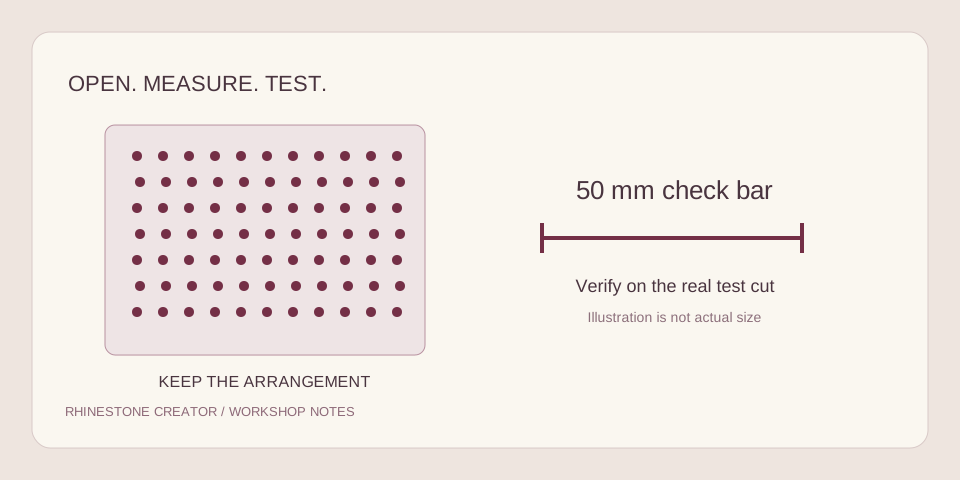
- Import it at its intended 100 mm width and preserve its arrangement.
- Cut a small sample using the planned material and supplier-recommended setup.
- Measure the 50 mm check bar, then compare the three hole sizes.
- Record the working result and use that hole value when rebuilding the full layout.
The calibration file uses your selected diameter and two alternatives, 0.2 mm smaller and 0.2 mm larger. These are comparison samples, not an assertion that either allowance is correct. If none works, adjust the candidate value and repeat.
If the measured bar is wrong, solve the scale problem before changing hole allowances. If the bar is right but the openings are uneven or hard to clear, inspect the cut and material rather than compensating blindly with the artwork size.
Record the settings for your file
A useful request includes the measured stone size, the hole value that worked in the calibration, the gap, finished width and intended software. You can then request a manually reviewed SVG or actual-size PDF with a clear production brief. The proposed price is $4.99 per design; no payment is taken with the initial request.
Keep a copy of the successful calibration and saved JSON project. If you later change the stones, material or scale, reassess the fit. For the next software step, use the Cricut SVG checks or Silhouette import workflow.
About this guide
Written for the current single-color Rhinestone Creator pilot. File generation and screen workflows have been checked locally; a physical cutter, stone batch or fabric combination has not been certified. Software features can change, so check the linked manufacturer instructions before production.