For a Cricut workflow, start with a measured SVG containing the hole layout. Check its dimensions after import and its arrangement on the mat preview. Use the free calibration SVG before cutting your complete design.
Start with the right file
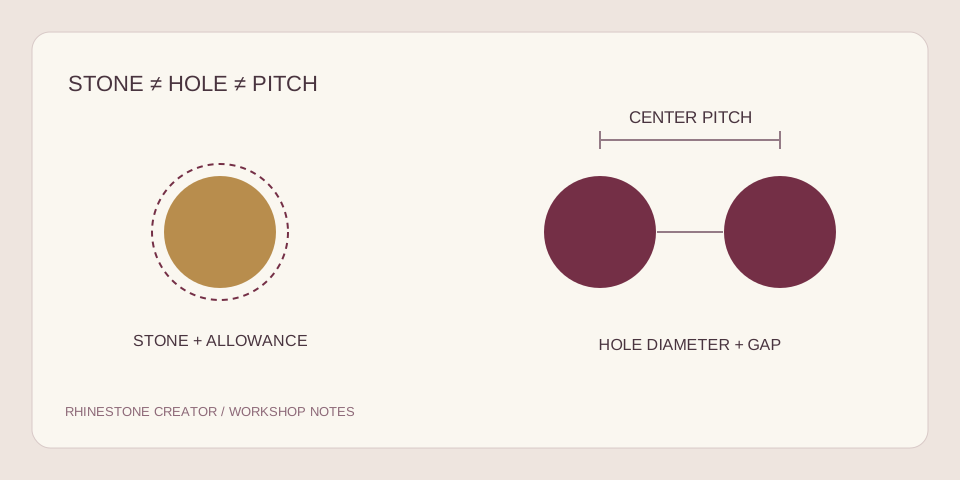
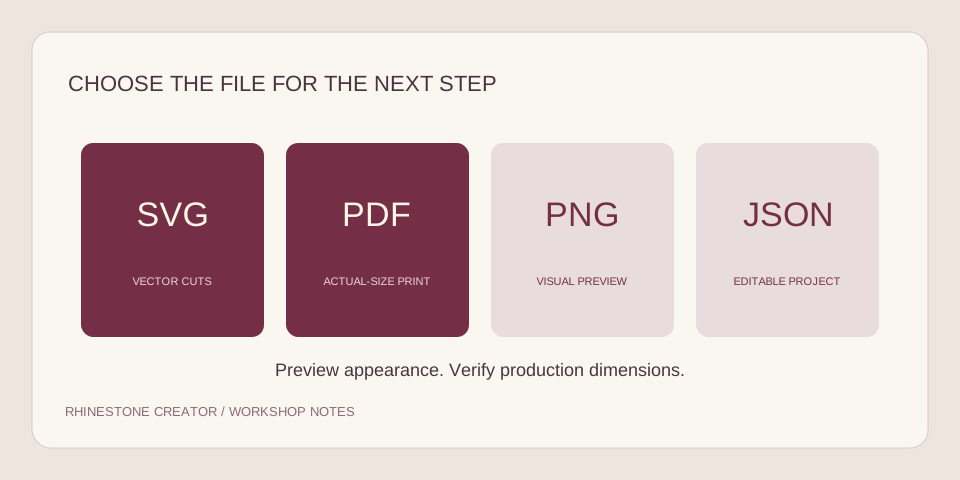
A rhinestone stencil needs separate, measured holes. A shirt mockup or ordinary photograph may show where the decoration belongs, but it does not contain those cut paths. For a vector cutting workflow, request the SVG layout; keep the PNG for visual planning and the JSON for reopening your project in this creator.
Cricut documents SVG as a supported vector upload format and lists PDF as unsupported for image upload. Its current instructions also state a 5,000-path limit for SVG uploads. These are software requirements, not a certification that a particular stencil material will cut successfully. See Cricut's image upload instructions.
Rhinestone Creator produces one hole size and one cut layer at a time. It is best used for simple lettering, silhouettes and high-contrast logos. It does not currently generate a multicolor portrait or a physical transfer ready to press onto a shirt.
Keep the design manageable
Many tiny circles can make a layout demanding to import and inspect. The creator's general project limit is 16,000 stones, but that limit is not a promise that Design Space will accept every project. For a Cricut-bound project, keep the layout comfortably below the documented SVG complexity limit and inspect the supplied file before production.
Stone count and SVG path count are related concepts, but software can represent or convert circles differently. Treat a design with thousands of stones as something that needs an import check, rather than assuming that a small download size makes it simple.
If the first result is too dense, try an outline, simplify the wording or use a larger hole diameter and rebuild the layout. Enlarging holes reduces the number that can fit at a fixed width, but it also changes the stones needed. Do not choose a size only to get around an import problem.
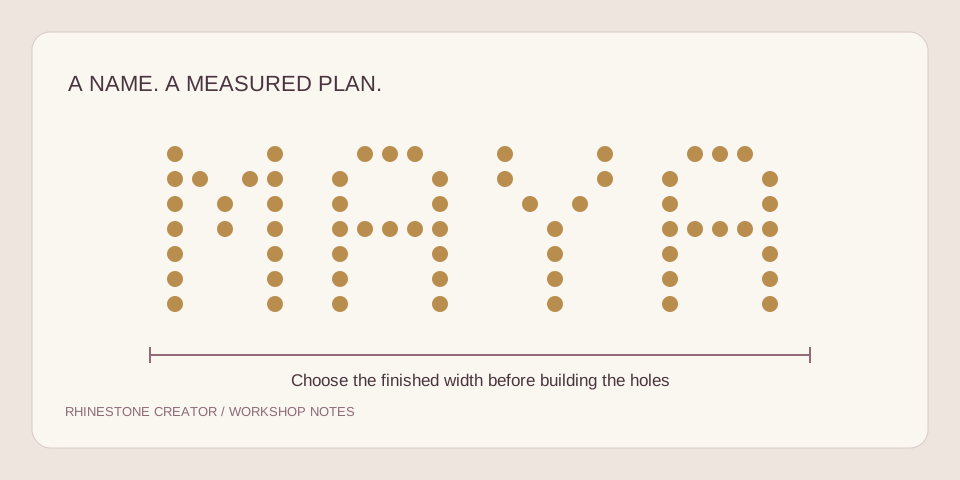
A useful brief is “a short name at 200 mm wide” rather than “all the detail from this large photograph.” Give the reviewer your target software and mention an import error if you have already encountered one. Do not pay for a file before confirming that the intended format and complexity are suitable for your setup.
Check the imported dimensions
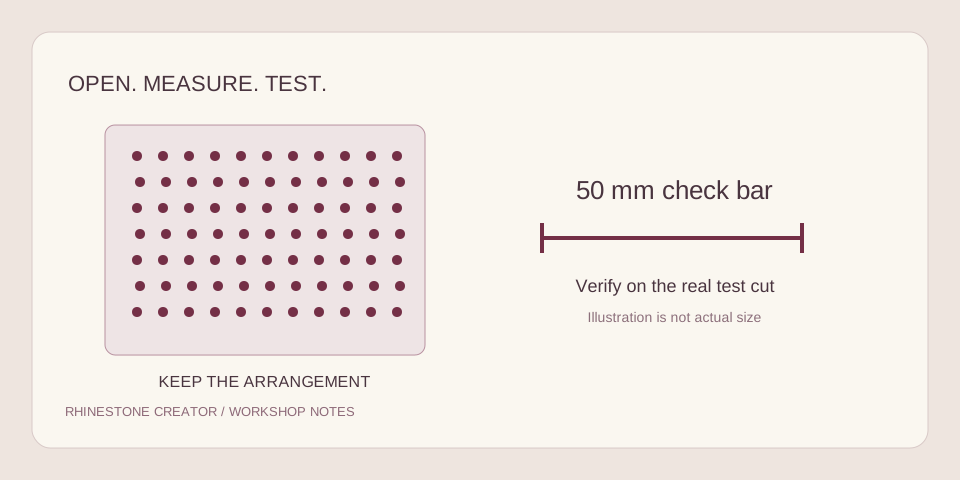
Start by saving the creator's free calibration SVG. It is designed to be 100 mm wide and includes a 50 mm check bar. Open a new Design Space project, upload that SVG and inspect the overall width on the canvas before changing anything.
- Confirm that the whole calibration design is selected.
- Check that its width is 100 mm, or approximately 3.937 inches if your display uses inches.
- Inspect the circles at a useful zoom level and confirm that they remain separate shapes.
- Check that the intended operation is cutting rather than a printed-image workflow.
- Repeat the scale check when you open the production SVG, using the dimensions agreed for that design.
The calibration image is a test layout, not a universal material setting. Its purpose is to make a unit or scaling mistake visible before a full design is cut. Changing the zoom on your computer does not change the physical dimensions; changing the design's width does.
Keep the holes together
The circles only form your name or logo while their relative positions stay intact. Cricut explains that Attach preserves the arrangement of cuts on the mat. Select the appropriate shapes and inspect the mat preview after attaching. Follow Cricut's Attach instructions for your platform.
Do not assume that a group visible on the canvas guarantees the same arrangement in the cutting preview. Look at the actual preparation screen. A collection of tightly packed circles elsewhere on the mat is a different layout, even if the individual circles are still the right diameter.
Preserving arrangement is also different from joining overlapping shapes. The template needs distinct holes with material between them. If a cleanup operation merges circles or removes the spaces between them, return to the original file and inspect the operation before continuing.
Make a small calibration cut
Use the material and cutting setup intended for the project. Follow the cutter and material supplier's instructions for settings. This guide does not supply a universal blade, pressure or number of passes because those would need testing against the actual material and machine.
Measure the cut check bar with a physical ruler. Then try stones from the actual batch in the calibration holes. The calibration file compares your selected hole diameter with holes 0.2 mm smaller and 0.2 mm larger. Record which result works for your handling method and material.
If the whole design is the wrong scale, solve the import or unit problem first. If the scale is correct but the stones do not fit, adjust the candidate hole diameter in the creator and regenerate. The hole sizing guide explains why an SS label cannot make that decision for you.
Troubleshoot before requesting the final file
| Symptom | First check |
|---|---|
| Import rejected | Supported file type and SVG complexity; reduce the design and retry |
| Holes fit on screen but not in material | Physical scale, measured stone batch and candidate hole diameter |
| Letters scatter on the mat | Arrangement in the mat preview and use of Attach |
| Tiny parts of a logo disappear | Artwork detail relative to the selected hole size |
| Stencil is too big for the material | Available cutting area, borders and the file's actual dimensions |
When you request the production file, include the machine model, Design Space platform, finished width, stone size and any result from your test. The proposed file price is $4.99, with no automatic charge in this pilot. A clear description helps the reviewer assess your layout; it does not replace a physical test. For the output choice, read SVG versus actual-size PDF.
About this guide
Written for the current single-color Rhinestone Creator pilot. File generation and screen workflows have been checked locally; a physical cutter, stone batch or fabric combination has not been certified. Software features can change, so check the linked manufacturer instructions before production.