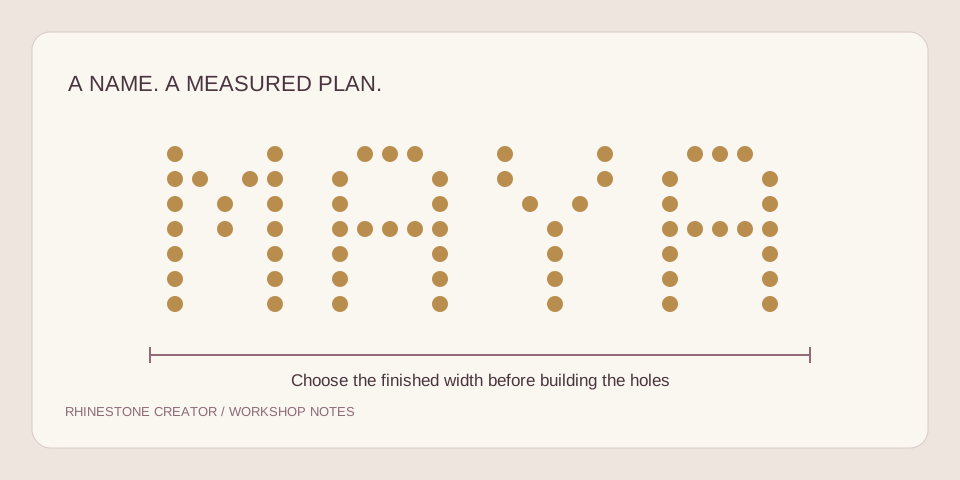
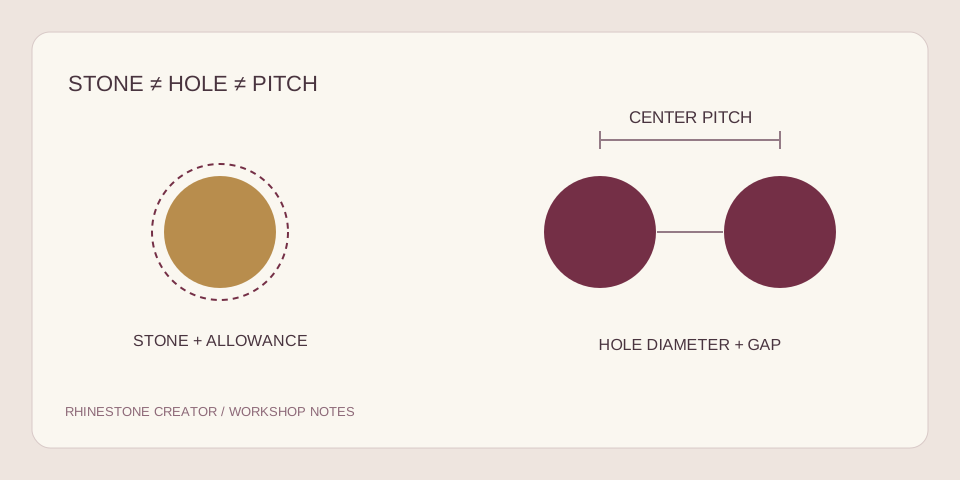
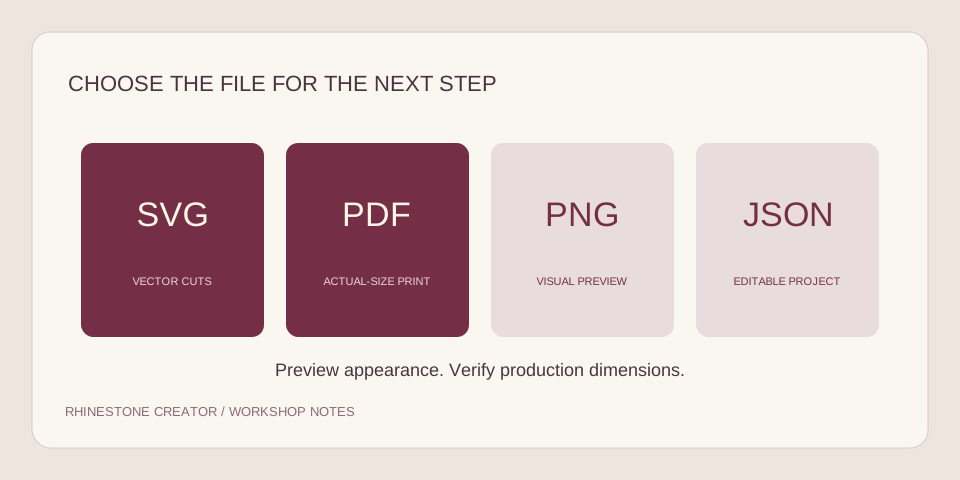
To make a rhinestone template from an image, use a high-contrast shape, set the finished width, then build a spaced arrangement of circles. A photo preview is not a cut file; the final hole positions and diameters must be checked at their physical size.
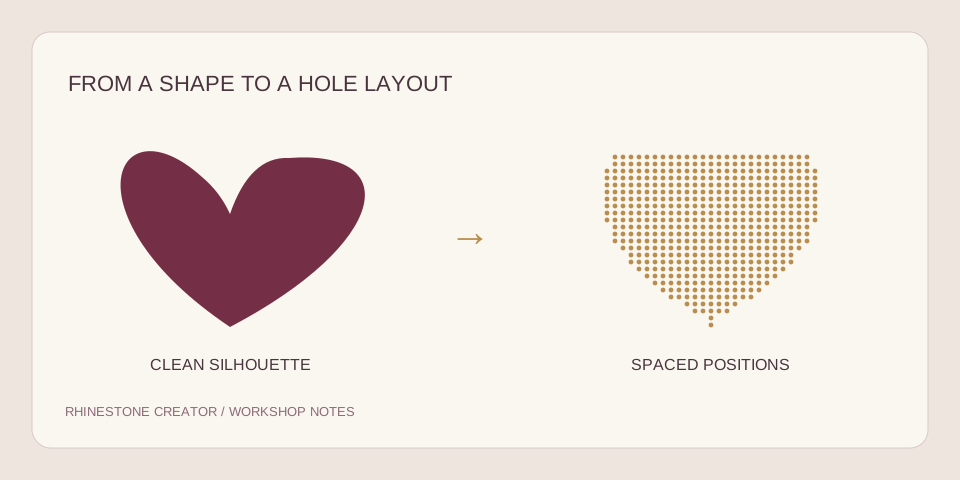
Choose the right source image
A high-contrast silhouette gives the tool a clear decision: place stones inside this shape and leave the surrounding area empty. A small logo, a bold icon or a large initial usually gives a more useful first result than a full photograph with gradients and fine background detail.
The current creator accepts JPG, PNG and WebP files up to 8 MB and 20 megapixels. It turns dark and light areas into one cut layer with one hole size. It does not interpret a full-color portrait as separate stone colors or automatically preserve photographic shading.
Transparency is useful for sharing artwork, but the editor flattens the image against white for this single-color conversion. If the visible design is white, use an appropriate high-contrast version or try the invert control. A white symbol against a white background has no visible shape to convert.
Uploading artwork into the editor processes it in your browser. The source image is only sent to the workshop when you submit a file request and separately choose to share the original. The stone positions are sent with the request so that the layout can be reviewed.
Simplify the artwork before converting
Make the intended subject fill the image and remove unrelated details. The creator crops the detected dark area to calculate the layout's proportions. An overlooked dark speck far away from a logo can therefore make the main artwork appear unexpectedly small inside the finished width.
- Keep the outer shape and any internal openings that identify the design.
- Remove tiny wording that will be smaller than a stone at the intended size.
- Use a clear dark shape on a light background where possible.
- Keep a copy of the original before simplifying it.
- Choose artwork you have permission to use for the planned project.
For lettering, try typing the wording directly in the creator before uploading a screenshot. A screenshot may include anti-aliasing, a background and other marks. The text option gives you three consistent lettering styles and avoids those extra image details.
There is no benefit in retaining every tiny feature if the finished design cannot show it. A simplified logo that reads from a normal viewing distance can be more useful than an elaborate arrangement that only looks recognizable when enlarged on a monitor.
Build the first layout at a physical width
- Open Upload image and choose the artwork.
- Set the intended finished width in millimeters or inches.
- Choose a candidate hole diameter and minimum gap. These determine how many circles can fit.
- Use the detail threshold to decide which areas count as artwork.
- Create the template, then compare honeycomb, square and outline layouts where useful.
- Inspect the count, overall size and the small details before moving to a shirt mockup.
The threshold is not a detail-recovery tool. It changes which pixels are treated as dark or light. Raising it can include lighter parts of the image; lowering it can exclude them. If the source is a photograph, that may produce unwanted background shapes rather than a meaningful single-color design.
The editor limits a project to 16,000 stones and a maximum finished dimension of 600 mm. Those are application limits, not the capacity of your cutter or material. Your software may have a lower complexity limit; see the Cricut preparation guide or Silhouette SVG guide for the relevant checks.
Read details at stone scale
Consider a 3 mm hole with a 0.5 mm minimum gap. The center-to-center pitch is 3.5 mm. A narrow 2 mm feature cannot contain even one complete 3 mm hole. Increasing image resolution does not change that physical constraint.
You have several practical choices: make the artwork larger, simplify the feature, use smaller measured stones with an appropriate new hole size, or accept that the detail will be omitted. Each choice changes the production plan. More pixels alone cannot make a stone smaller.
Inspect internal openings as well as the outer edge. The counter in an A, the gap between two letters or a notch in a logo can carry much of the design's identity. If those openings close, try a different width or layout and compare the result at a reasonable viewing scale.
A honeycomb fill offsets alternate rows and gives a different visual rhythm from a square grid. An outline concentrates stones near the boundary. These are alternative looks rather than an automatic ranking of quality. The useful result is the one that preserves the design and suits the way you will make it.
Clean up individual stones
Use Add a stone or Erase a stone to correct a small part of a useful layout. The editor rejects additions that would violate the minimum spacing. Undo restores recent changes; saving the project downloads a JSON copy of the current positions.
Manual editing is best for small refinements. If you are deleting hundreds of unwanted dots, return to the source image or threshold instead. Fixing the underlying silhouette makes the next layout easier to inspect and avoids spending time polishing an unsuitable conversion.
Changing width, hole size, spacing, font or the source rebuilds the layout. Save before rebuilding if you want to preserve the previous version. An opened JSON project restores positions, but it does not restore the original image needed for a new conversion.
Move from preview to a file request
Use the shirt view to consider appearance and placement, then download a free PNG mockup if that is useful for discussion. The shirt is an AI-generated model image. This visual does not establish the physical fit of holes, stone adhesion or the exact appearance of a finished garment.
For production, request a reviewed SVG or actual-size PDF and include the intended width, stones, software and any detail you want checked. The proposed price is $4.99 per design, with no charge when you submit the form. Share the original artwork only if you want the reviewer to compare it with the layout.
Before you proceed, use the free calibration SVG on the real material. The sizing guide covers hole allowances, and the custom template brief helps you describe the project clearly.
About this guide
Written for the current single-color Rhinestone Creator pilot. File generation and screen workflows have been checked locally; a physical cutter, stone batch or fabric combination has not been certified. Software features can change, so check the linked manufacturer instructions before production.